Last Updated on
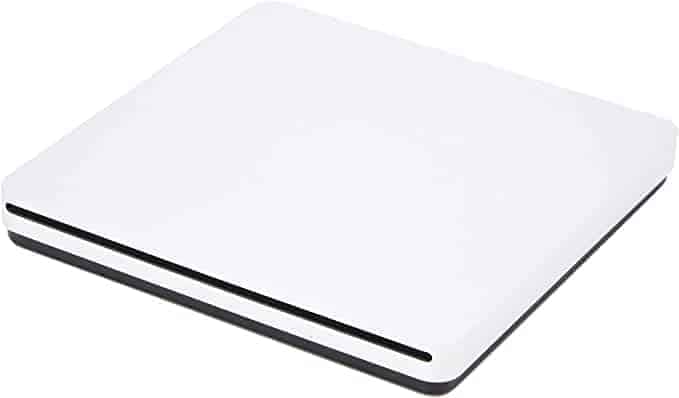
Apple Superdrive allows Mac/MacBook users to read and write CDs and DVDs. In 2021, optical media is becoming less popular in favor of streaming and other digital services, which often saves time and money for manufacturers and users. But what about people who still need CDs and DVDs? Well, the Apple Superdrive will jump over a building in a single bound to solve that problem via USB.
But how do Apple SuperDrives work? Maybe you’re using a DVD or CD drive for the very first time? Don’t worry, we’ve got you covered:
How to connect and use the Apple USB SuperDrive
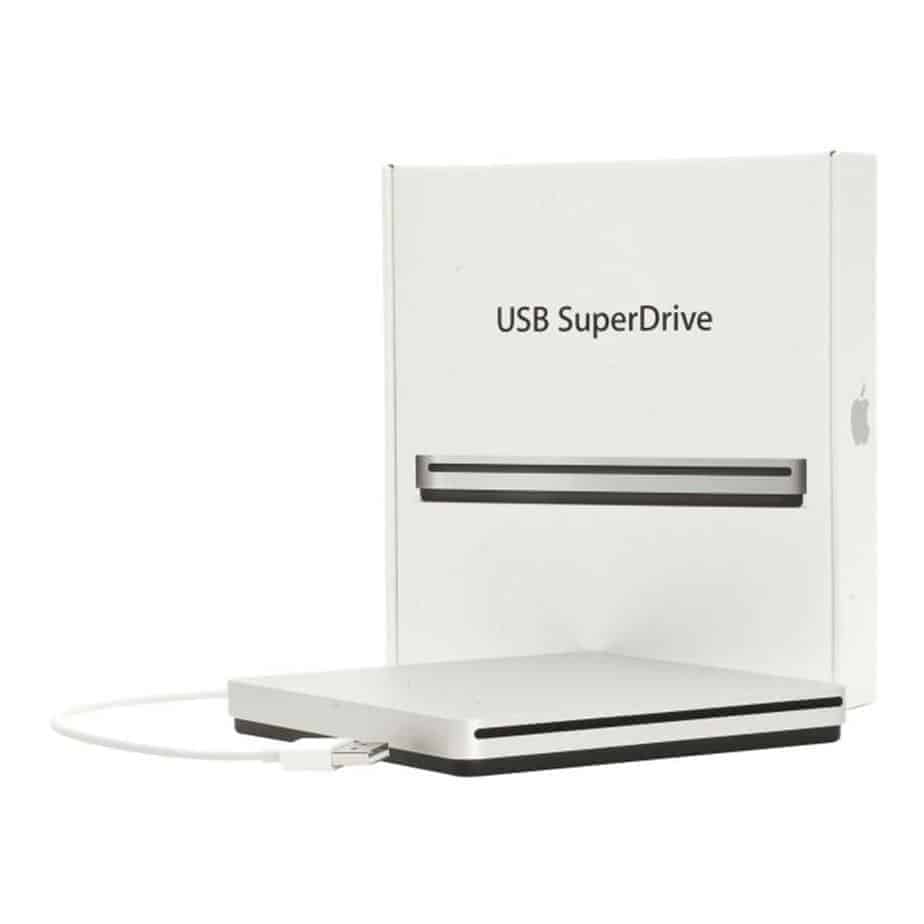
The Apple Superdrive and alternatives are compatible with any Mac manufactured after 2008 that doesn’t have a built-in optical drive. Here’s how to get started:
Plug it in
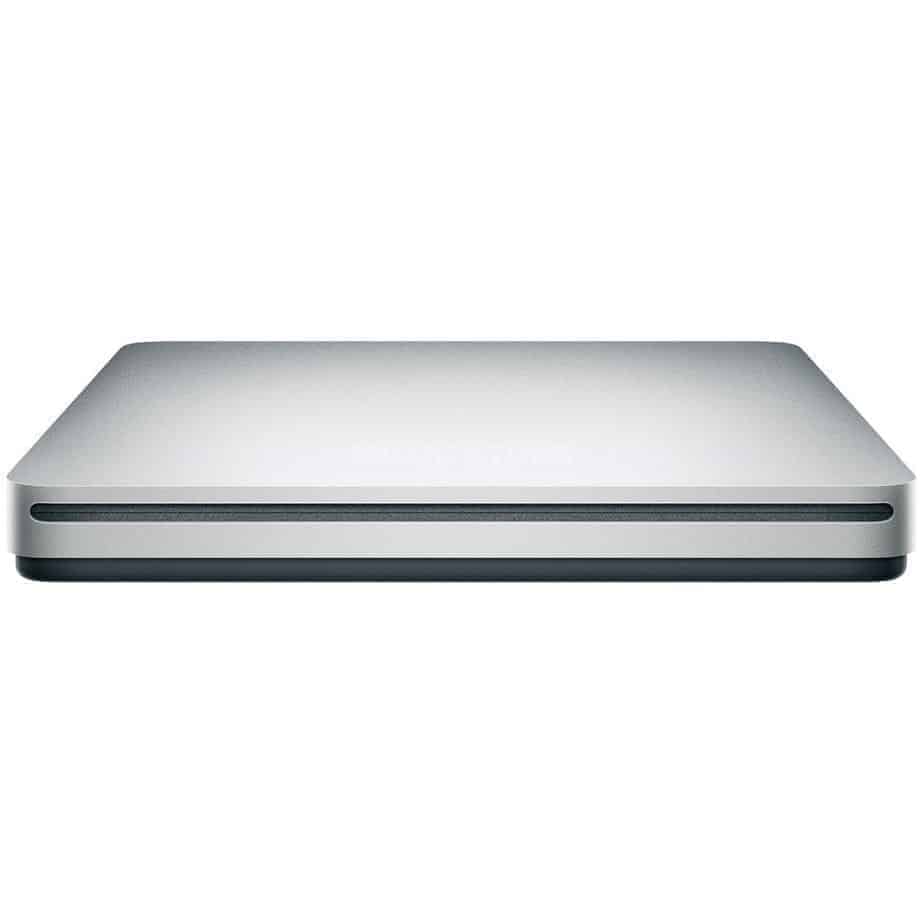
Find a free USB-A port on your Mac and plug the Apple SuperDrive in, then insert a CD or DVD. Make sure the aluminum side of the SuperDrive is facing up alongside any optical media you insert.
How to eject a disk
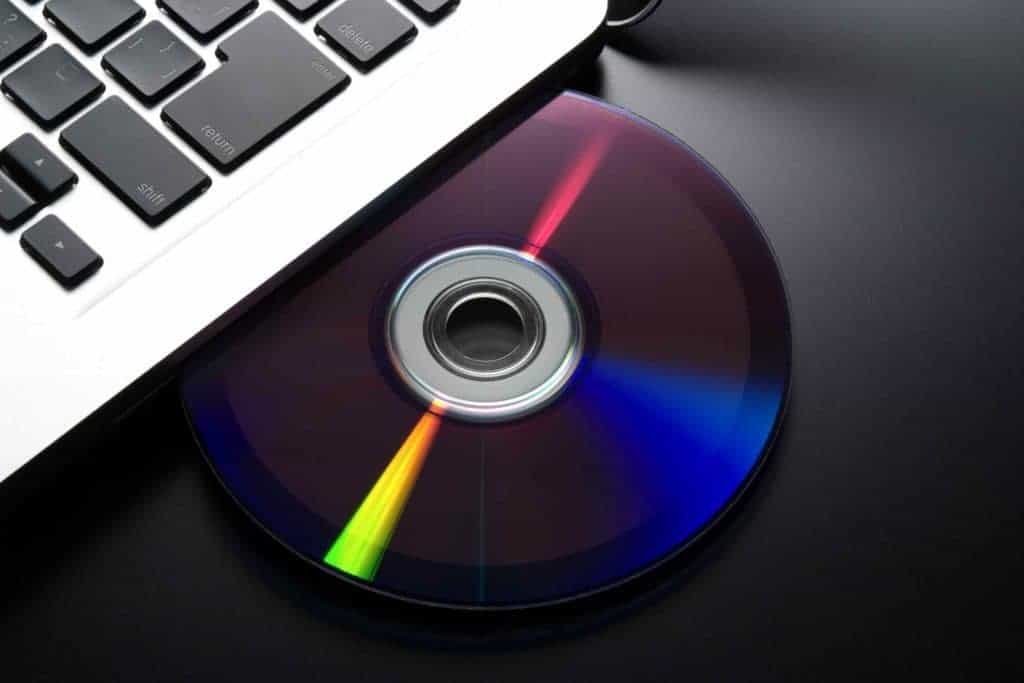
There are a couple of ways to do this. You can hit your eject key if your keyboard has one, or go to Finder in the dock then choose File > Eject.
Don’t have a free USB port?
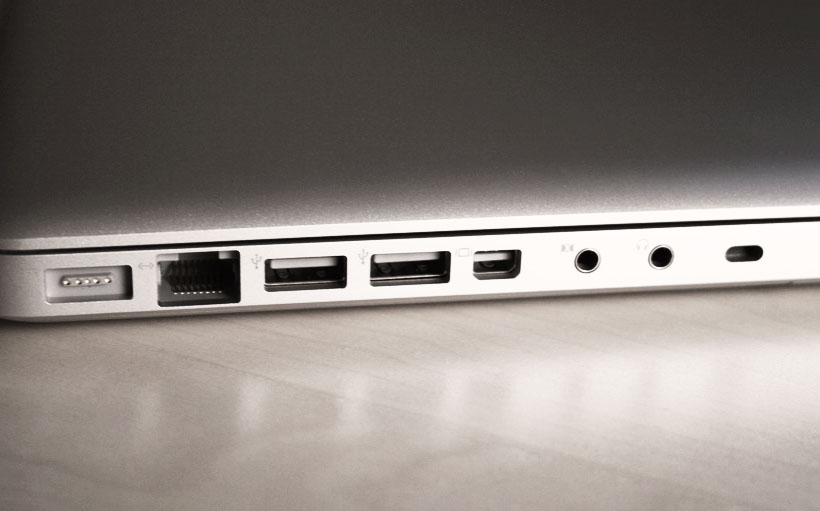
Don’t worry about it! You can also use a USB-C or Thunderbolt 3 (USB-C) port on your Mac or MacBook to connect the Apple SuperDrive. You’re going to need one of the following to connect it up:
Any of the above adaptors should do the trick.
Thanks for choosing PC Guide for help on using your Apple Superdrive or equivalent. We pride ourselves in making sure our readers are well informed, make sure to visit and bookmark our various how-to guides here


